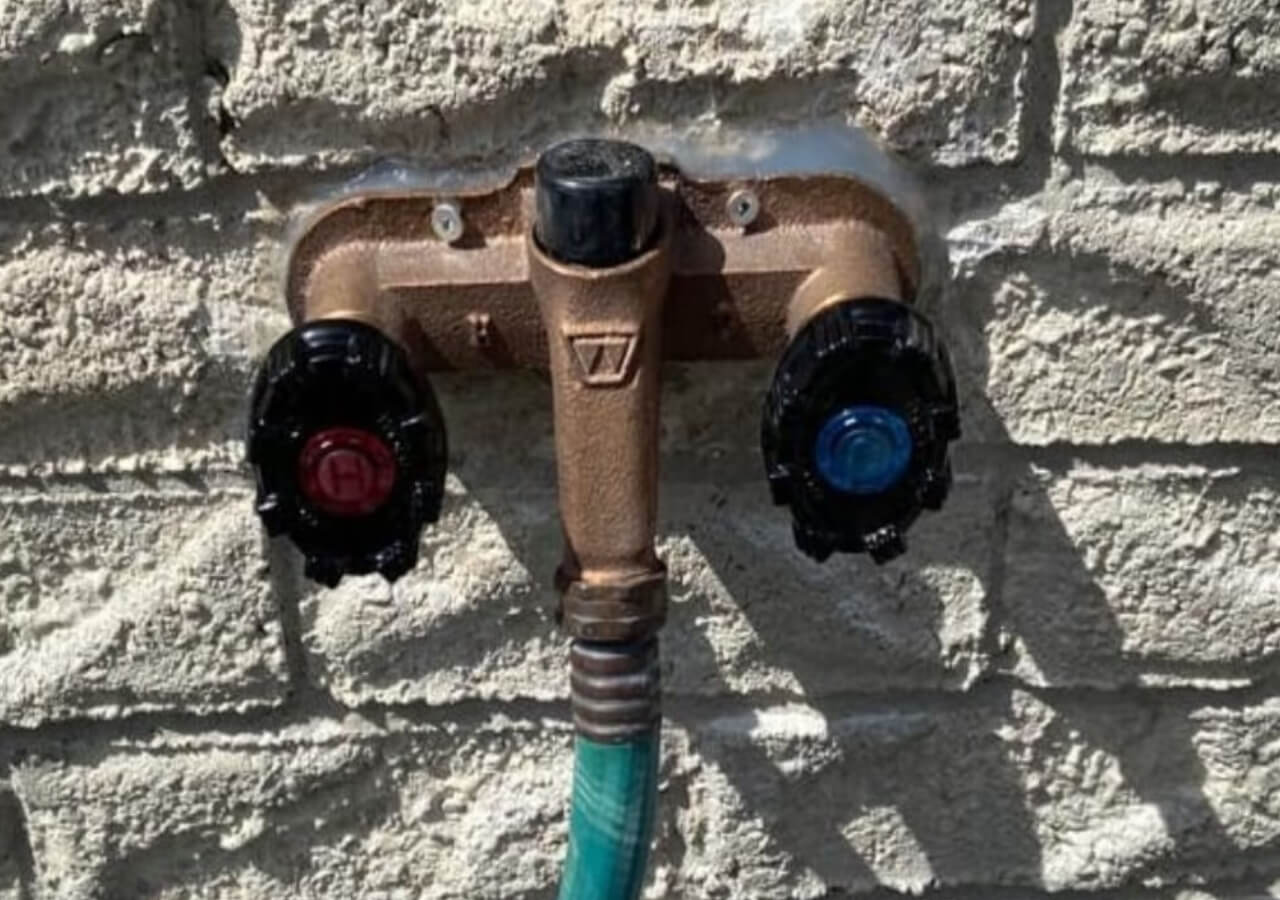
Faucet Installation
Seamless faucet installation for a touch of elegance and functionality in your space.
In today’s day and age, a faucet installation is easier than ever to manage for all those do-it-yourselfers. Most manufacturers have created the common faucet for a crafty layman to install by themselves in a few easy steps without having to get underneath the faucet itself!
However, there are no one-size-fits-all faucet installation guides out there. You should have some expertise in installing your faucet and at the very least, should ask your local plumber for some guidance.
While we recommend you ask a licensed plumber to get the faucet installation done, here are some basic tips on how to achieve this on your own.
How To Install a new Faucet
Elevate your space with a new faucet – our step-by-step installation guide ensures a seamless upgrade.
1. Getting Rid Of The Old Faucet
The first step to any appliance installation is of course the removal of the old unit. With faucets, they tend to be installed fairly tightly and can be near impossible to break free with a common basin wrench. Whether you’re doing this on your own or are being guided by a professional, taking these next steps will require skill and agility. If you don’t care for the old appliance, using a rotary tool or a metal-cutting blade to slice through the nut would be the best solution for breaking the old faucet free of its confines.
After you’ve broken the nut, use a screwdriver to move the nut and any other more tenacious parts away from the faucet. A basin wrench is a helpful tool that many craftsmen use on the job around tight spots. While trying to reach cramped areas behind sinks and toilets, basin wrenches are very useful. If you’re feeling comfortable enough to remove the toilet by cutting its base’s nuts, chances are you’d be okay to use a basin wrench. This will absolutely come in handy later in your faucet installation process. Most basin wrenches can be found at any local hardware store.
2. Mounting Your New Faucet
In order to prevent this in your new installation, most new faucets are supplied with a gasket that will create a seal between the faucet and the sink. As an added measure, we recommend adding a bead of clear silicone caulk to the bottom of the faucet and gasket to get a tight, good seal. The silicone acts as a sealant and will keep all water out of your appliance. After applying the silicone, gently clean up any excess residue with a paper towel or rag.
3. Supply Line Upgrades
With the new supply line connector, simply thread it about a finger-width and apply one half-turn to tighten the seal with a wrench. Saving yourself the headache of having to install it the old-school way will give you an iron-clad installation and save you time too! An important component to remember is the size of your supply line. Some faucets are cookie-cutter and will only supply a certain length to your shutoff valves. Be sure to measure from your faucet to your valves correctly to make sure you have ample space and buy extensions as needed.
4. Shutting Off Valves
With all plumbing services, there will no doubt be debris and minerals that will be dislodged after releasing the pipes in your system. This debris and minerals build up over time and will no doubt be released if the right precautions aren’t taken. To prevent this, remove the aerator before you turn the water on post-installation. The aerator is the perforated plastic covering on the end of your faucet. To remove it, simply counterclockwise turn it and it should remove on its own. Some faucets can be trickier than others, so be sure to contact your local plumber if you get into a bind. Better to do your faucet installation the right way than trying to save money by doing it yourself!
5. Saving Your Parts
With your new faucet installation will no doubt be an instruction manual as well as the different parts and tools you’ll need to install it. A common rule of thumb for all do-it-yourselfers is to package all of those tools and parts in a freezer bag and leave them near the sink for any issues that might follow your installation. This could save you a lot of time down the road fumbling through your toolbox for any loose parts you might need down the road.
6. Mounting The New Faucet
![]()
A few things you should consider when you’re installing a new faucet:
- If you’re installing a new sink as well as a new faucet, be sure to mount the faucet to the sink before installing the sink.
- You will find it easier to install your unit in one piece on the floor vs having to be under the sink during your installation.
- Removing the old sink to get better access will allow you to remove any gunk or residual buildup the old sink may have picked up.
- Cleaning off any build-up and old caulk before installing the new caulk will give you the best results without any leaking!
Free Outdoor Tap!
Purchase an outside tap replacement and receive a 2nd outside tap replacement at no charge!
Appointments are based on availability.

Frequently Asked Questions
Why are my faucets stiff and so difficult to operate?
How Do I Reach Out To You
The best way to contact us is by calling (905) 597-8555. Our website provides a lot of infomraiton aobut our services. Next time you look for plumber near me, look no further. Give us a call.

