
Toilet Installation In 6 Simple Steps
Expert Toilet Installation for a Seamless Blend of Form and Function in Your Space
When a toilet has reached the end of its rope and are showing signs of age through cracks and leaks, it might be time for a new toilet installation. Some toilets show signs of age, when the shade of blue starts to fade or uses more water than it should. An older toilet can lead to excessive use of water and leaking, which can cause further damage to your bathroom floors. It’s time to replace the toilet right away!
At Preferred Plumbing, we will always assist with any toilet installation issues you might encounter – large or small!
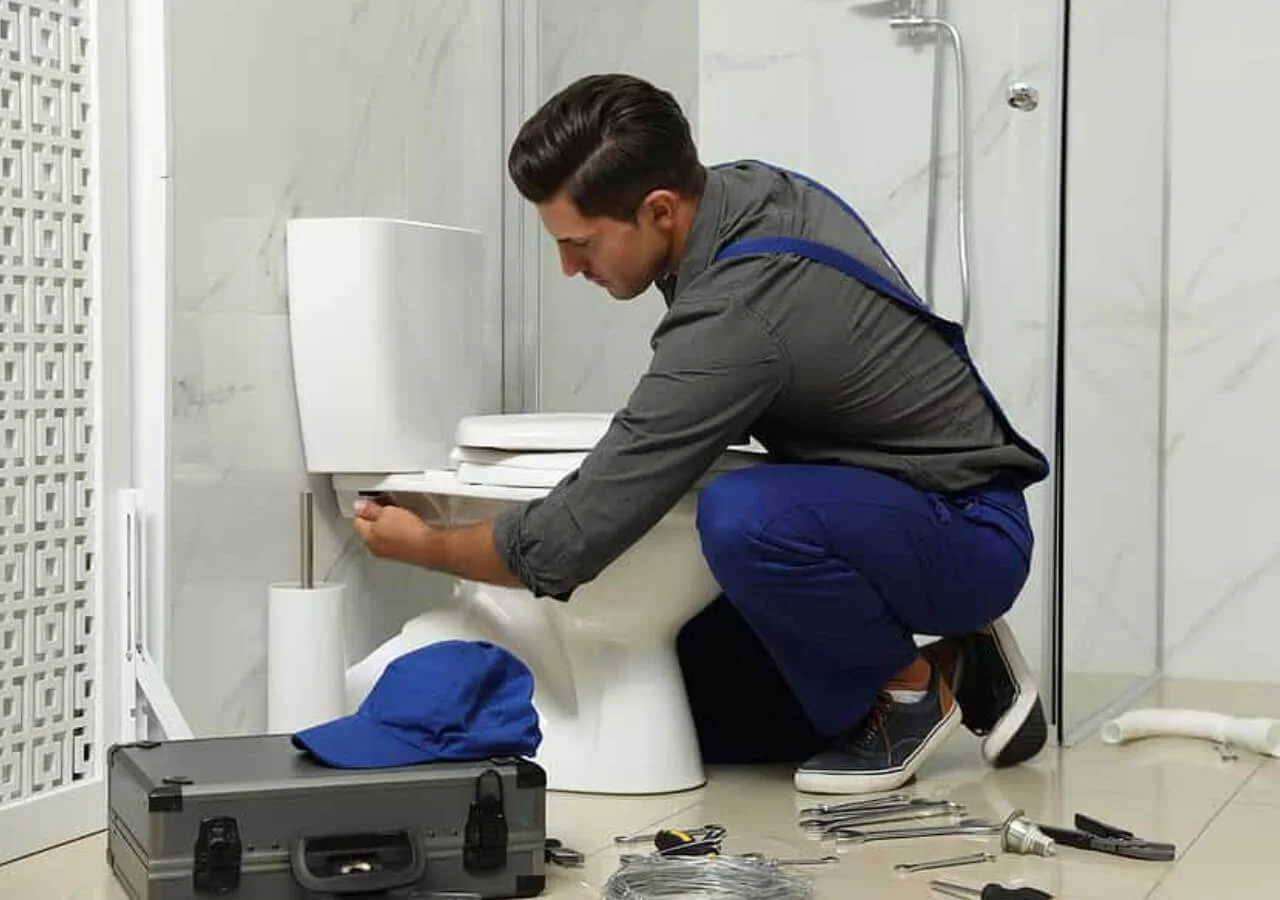
If you are inclined to try and change the toilet yourself, there are a few steps you should follow to properly uninstall and install a toilet. It will require heavy lifting, careful maneuvering and might require a licensed plumber but if you follow these steps, you will be sure to accomplish your toilet installation successfully.
Free Outdoor Tap!
Purchase an outside tap replacement and receive a 2nd outside tap replacement at no charge!
Appointments are based on availability.

Steps On Toilet Installation
Step 1: Preparing the floor and soil pipe for the toilet installation
To start the toilet installation process, you’ll need to stuff a rag into the soil pipe to ensure you’re blocking the sewer gas, preventing anything from falling into the hole where your toilet is. Make sure that the hole in the floor is large enough so that the closet flange is up to the collar. If the hole needs to be extended out, then trace around the base and cut the excess with a jigsaw.
Next, you’ll want to dry-fit the soil pipe into the closet bend. Put the flange over the soil pipe and measure the space between the bottom of the collar and the finished floor. Then you’ll remove the pipe and carefully use a handsaw to trim it to size as in the step prior. Use a utility knife to scrape out any remaining burrs.
Step 2: Installing the soil pipe and closet flange
The next step in the toilet installation process is to wipe down the PVC primer on the inside of the closet bend and on the outside of the soil pipe. Next you’ll apply PVC cement to those surfaces and twist the soil pipe into the closet bend. Apply cement and prime the free end of the soil pipe and the inside of the closet flange. Press down and twist the flange on to the soil pipe until the collar is resting on the floor.
Next, you’ll carefully rotate the collar until the slots are evenly positioned to the right and left of the hole, as the bolts will need to line up with the wall parallel to the tank. Be sure to secure the collar to the floor with screws, preferably stainless steel, that will be long enough to go through the subfloor.
Step 3: Solder the Valve
For the next phase, shut off the water supply to the bathroom to prevent any leaks and place a bucket under the supply line for water flow. Sever the line with a tubing cutter and leave about 1 inch of pipe to attach the valve to the escutcheon, allowing the pipe to drain.
Next, remove the valve’s handles and stems and dry them inside and out with a dry rag. Use a wire-brush pipe cleaner to clean out the inside and outside of the pipe and apply flux to both areas.
Place the escutcheon over the supply line and then the stop valve, with the outlet pointing upward. Heat the supply line stop valve joint with a torch. Once it’s hot enough to melt, remove the flame and run the solder around the joint. Once a drop of solder appears at the bottom, the joint is filled.
Step 4: Installing the toilet wax ring and setting the bowl
The next step will involve inserting the long brass closet bolts into the flange collar’s slots. Make sure you have a brass washer over each bolt. Press the wax ring gingerly, flat side down over the flange.
Lift the toilet bowl gently over the flange, aligning the holes to its base with the closet bolts, and lowering the base onto the ring. Press the bowl gently down on the wax ring, without rocking or twisting, until the bowl’s base is resting on the floor. If the floor isn’t even, be sure to shim the toilet with washers.
Place a nylon washer over the bolts and then hand twist the nuts over them. Tighten with a wrench a quarter at a time and stop when the twisting meets resistance. You want to make sure you don’t over-tighten the nuts, as it will cause cracking. Trim the closet bolts at a point two threads above the nut and snap the plastic bolt covers into place.
Step 5: Installing the tank
Next step is to make sure the rubber tank to bowl washer on the outside of the tank’s bottom is firmly seated. Fit the rubber tank washers into the tank holes from the inside of the tank and insert the bolts.
Very carefully lower the tank into the back of the bowl, ensuring the ends of the tank bolts into the holes. Place a nylon washer over each bolt and thread the nuts in place.
Hold each bolt in place with a screwdriver and hand-tighten the nuts and alternate from nut to nut, checking to make sure the tank is level. Again, overtightening will cause the toilet to crack. Next, connect the tank’s handle to the flap chain within the tank.
Step 6: Installing the supply line and seat assembly
Last steps include curving the supply line to fit the stop valve to the tank-supply fitting. Hold the pipe and mark it a half an inch below the outlet, leaving enough line to sit inside the outlet.
Cut the supply line at the mark you’ve made and slip the plastic nut, compression nut and compression ring, in that order, on to the supply line. Add some Teflon paste to the outer threads and set the line in the outlet, fitting the compression ring.
Hand-tighten the supply line’s plastic nut under the tank and tighten the compression nut with a wrench firmly.
To finish off, be sure to position the seat assembly over the bowl and insert the plastic bolts through the bowl’s seat holes. Tighten the nuts by hand.
Once all of this is in place, turn on the main supply line and open the stop valve allowing the tank to fill. Flush approximately 6 times before use and check for leaks.
If, for any reason, any of this seems out of reach for a do-it-yourself such as yourself, or you need a plumber near you for any plumbing services, be sure to give us a call at 905-597-8555 and we’ll be sure to help out with any of your toilet installation needs!
Frequently Asked Questions
My toilet is making weird noises, should I be concerned?
Yes. That means the internal parts are failing and are no longer operating correctly, and you are losing water.
How long does a toilet last?
It totally depends on the mineral level in the water and the volume of us. Some toilets will need servicing or replacing at the 5-year mark, some may last 20 years.