Shower Repair
Swift and Professional: Shower Repair to Restore Your Refreshing Oasis

Shower plumbing problems are not uncommon. Here in Toronto, North York, Vaughan, Richmond Hill, Markham, and surrounding areas, we get calls all the time regarding shower faucet repairs. They frequently start to leak or corrode, because they are used all the time. Plus, ongoing contact with water tends to wear everything down, so a shower faucet is a likely candidate for maintenance and repair. In newer homes, it’s possible that the quality of original construction and materials used may be substandard – another reason why leaks and problems develop.
We’d like to go through some of the steps involved in shower faucet repair. If you read through and find all the information and steps a little daunting, it’s totally understandable. It will require some specific tools and plumbing knowledge.
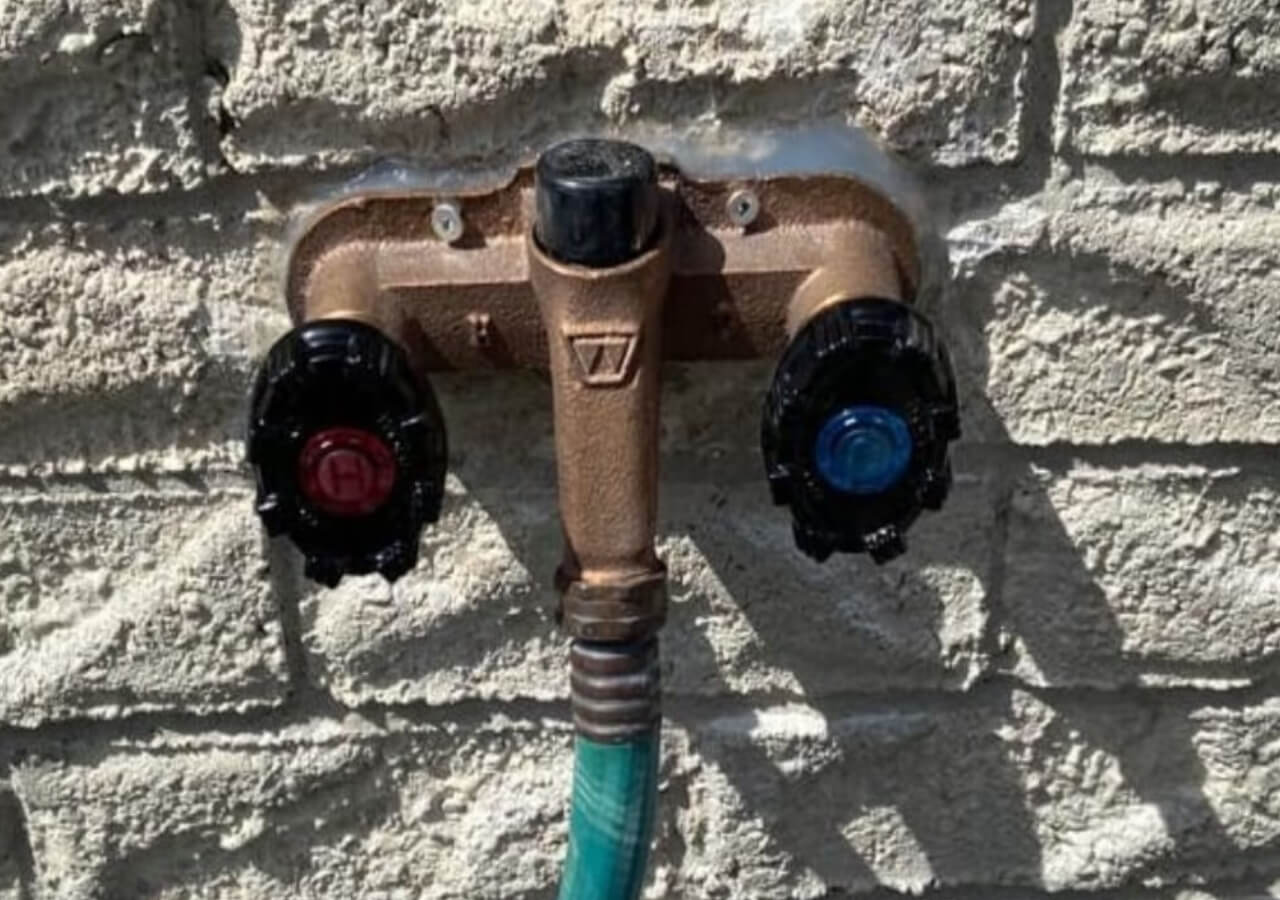
Free Outdoor Tap!
Purchase an outside tap replacement and receive a 2nd outside tap replacement at no charge!
Appointments are based on availability.

SHower plumbing repair steps
Elevate your DIY skills with these essential shower repair steps, ensuring a revitalizing and hassle-free bathing experience
Tools needed for Shower Plumbing Repairs
You’ll need several tools on hand to properly execute a shower faucet leak repair. These generally include:
- Screwdrivers – Phillips and slotted (flathead)
- Pipe wrench
- Cartridge puller – these are often required for some makes of shower faucet
- Pocket knife
- Needle nose pliers
- Hex keys
- Rags – for soaking up water during the repair
Faucet repair parts may include:
- Faucet repair kit, which will contain the replacement parts needed
- The shower faucet cartridge, should it need replacing
- Faucet grease (silicone)
Turning Off Your Water Supply
Do not attempt any repair of your shower faucet without first turning off your main water supply. Tinkering around with the shower pipes with the water pressure still on could result in an unwanted splash and flood of lots of water. Don’t risk it – turn off the main water valve in your home first.
Removing The Handle And Faceplate
This step allows you access to the inner workings of your shower faucet. Use your flathead screwdriver to pry off the cap, which covers the screw in the center of the handle. This allows you to unscrew the shower handle.
Now you can remove the protective faceplate. You may be able to pry it off, again with the help of your flathead screwdriver. Alternatively, it may be threaded which means you can simply rotate it to loosen and remove it. Behind the faceplate, you should find a metal sleeve that covers the actual shower valve. Pull that sleeve off, by prying or unscrewing it.
Removing The Shower Faucet Cartridge
You should now see the metal stem of the shower faucet which contains the faucet cartridge. Using your wrench, you can now hold the base of the stem in place; now unscrew the nut – make sure you have it handy for later.
Using your wrench, you can now loosen the cartridge and remove it. If it remains in place and does not easily come out, use your needle nose pliers to grip it and pull it out. Your valve is now empty and ready for the installation of a new cartridge. You will need the right replacement cartridge for your particular shower faucet assembly. If you haven’t identified this yet, and don’t have your new replacement cartridge ready, you will have to stop the repair and get this replacement part from your local plumbing supply store.
Installing The New Shower Faucet Cartridge
Install your new shower faucet cartridge into the valve. If it is the correct type, it should slip into the valve with little difficulty; then tighten everything up with your wrench. Now you can replace all the other parts you had removed previously, to complete the repair of your shower faucet.
Shower Faucet Repairs For Multiple Handles
Repairs of shower faucets with more than one handle – hot water and cold water are quite common – are similar in nature to the single handle repair we have just described. There is, however, more work to it, along with more steps and more replacement parts. There are even three-handle shower faucets out there, which have hot and cold water stems, plus a diverter step to combine hot with cold water. These, again, require more steps, and likely, more replacement parts.
Testing Your Completed Shower Faucet Repair
Once you have put all the parts back into place, with the new replacement parts installed, you should turn on your main water supply to check for success. If you have all the correct tools, and the right replacement parts, you should now have a leak-free shower faucet and handle.
Should you not experience success, or if all the tools, parts, and steps are too daunting – which, in fact, they may be – your next step should be to contact a qualified plumber, who has all the expertise and equipment to execute all your plumbing repairs, shower faucets included, expertly and with a guarantee.
We would be happy to hear from you – contact us with any of your plumbing questions or concerns. We are here to help you with your shower repair.

